
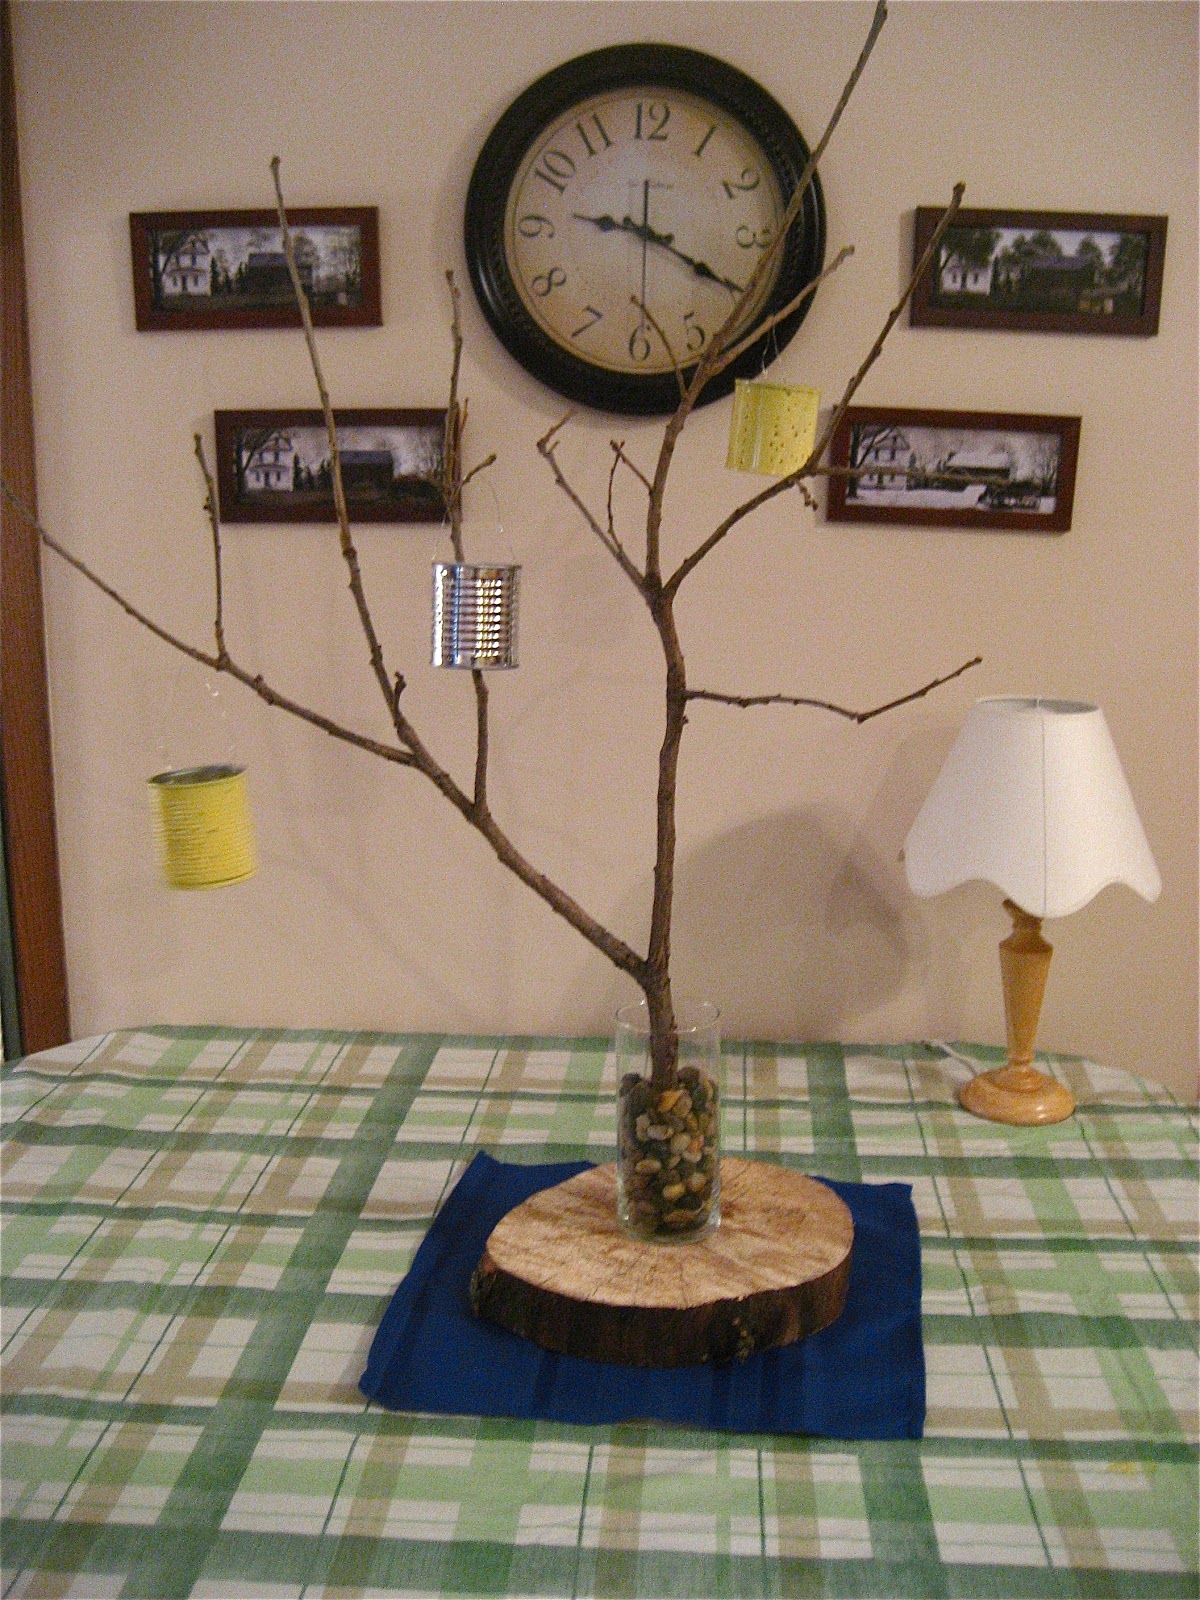
Pretty any time of year!
I am using these in my center pieces for my wedding! You can customize them anyway you want. Colors, patterns, and size!
Items needed:
- Mini cans - you can use mushroom, condensed milk, or manderain orange cans
- Thin wire - I used beading craft wire
- Hammer
- Medium sized nail
- Spray paint
Directions:
- Fill tin can with water and place in freezer for 2 hours or until frozen solid
- Place tin can on towel (make sure to hammer on carpet so you don't hurt wood floors or tile)
- Use a hammer and nail to pound a pattern into your tin can. It should punch through easily.
- *REMEMBER* to punch two holes across from each other at the top of the can for the wire
- Run hot water into can until ice melts out. Let can dry after.
- Take outside and spray paint whatever color you want!
- When dry (3 - 4 hours) string wire through top of can and twist until secure ontop
- Use an electric tea light inside and set or hang to get a twinkly effect!
 |
| All the supplies you will need |
 |
| Fill can with water and freeze. That's the only way to punch the holes through. |
 |
| Punch holes to make a pattern in can |
 |
| Spray paint the color you want and put wire through top hole and twist to secure on lantern |


No comments:
Post a Comment